


Stream movies anywhere
Thousands of films for free, thanks to your public library or university.
Learn more about Kanopy →
K-12 student reading
Getting ebooks and audiobooks from your school is quick and easy with Sora.
Learn more about Sora →
Bring books to life
Discover materials to enrich the reading experience of children's and teen books.
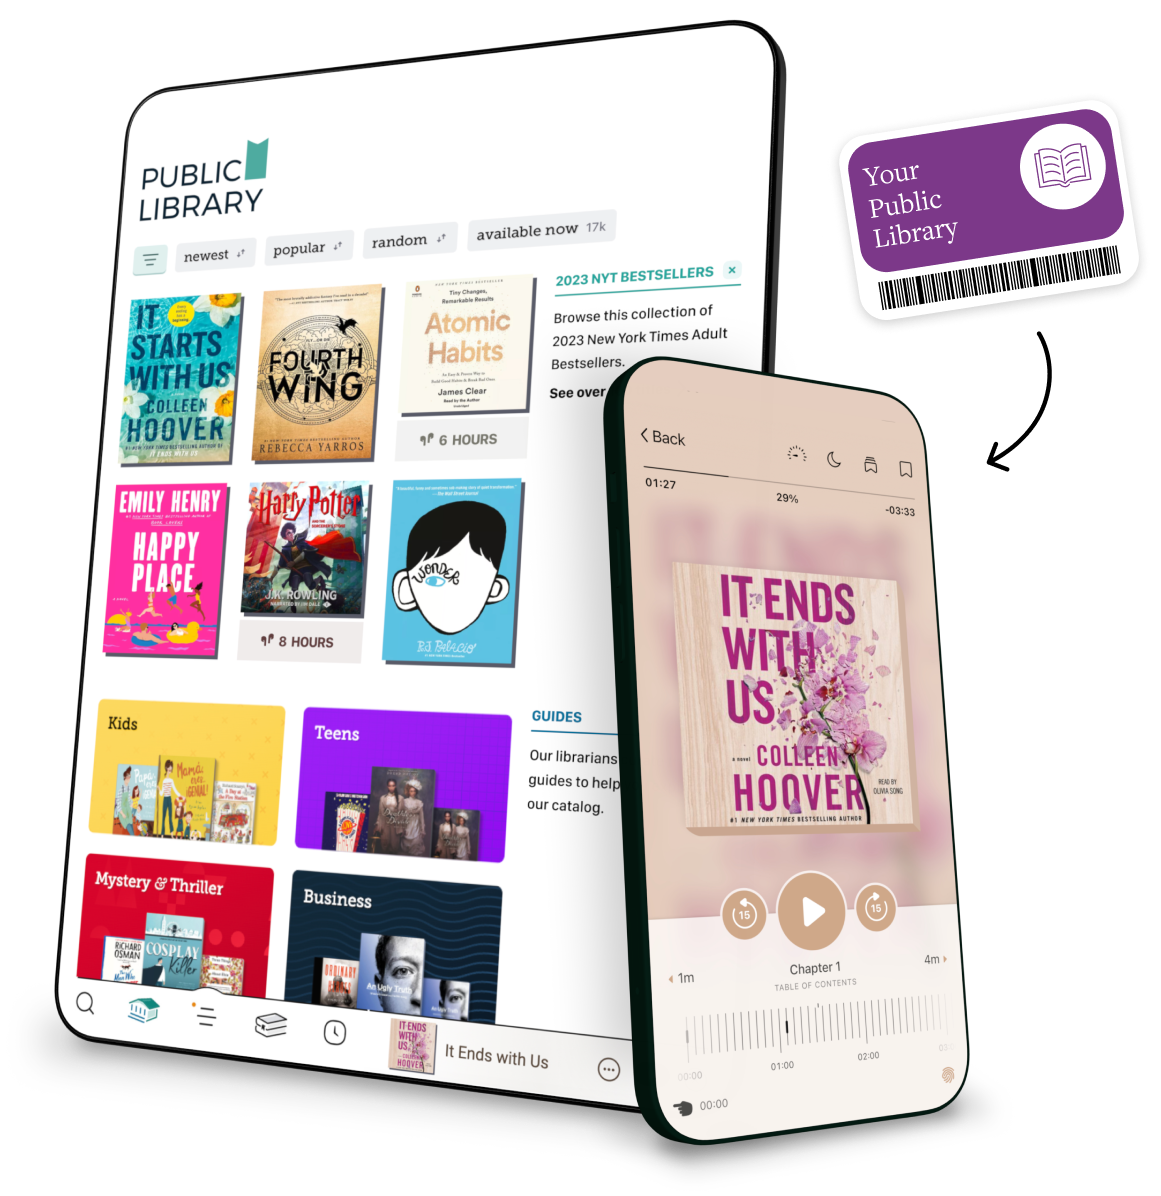
Learn more about TeachingBooks →Explore & read millions of books online for free
Browse our collection
OverDrive helps organizations & businesses
create digital book collections for library patrons, students & employees. Find out how!

Always Innovating
to help libraries transform

Meet Educational Needs
with digital content for the classroom

Maximize Discoverability
with a global leader in digital distribution


